
Introduction to Core Drills
Core drills are precision tools for creating clean holes in concrete, masonry, or stone, often used in plumbing or electrical installations. They feature diamond-tipped bits for smooth, accurate drilling without cracking surrounding areas. A reliable Core Drill system includes stands for stability during operation. These drills are essential for tasks requiring exact openings, enhancing overall project accuracy.
Drilling clean and precise holes is essential in various construction and renovation projects, whether you’re installing plumbing, electrical conduits, or simply creating space for fixtures. A core drill is a specialized tool designed to achieve this purpose effectively. Here’s a comprehensive guide on how to use a core drill to ensure accuracy and efficiency.
Understanding Core Drills
Core drills are powerful tools that use a cylindrical drill bit to remove a core of material, creating clean and precise holes. They are commonly used for drilling into hard surfaces like concrete, brick, and masonry. Core drills come in various types, including handheld and stationary models, and can be powered by electricity or water.
Types of Core Drills
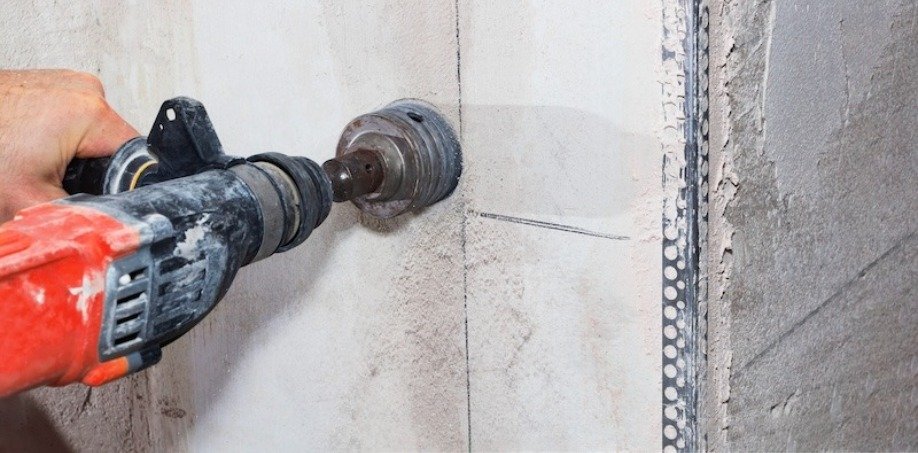
- Handheld Core Drills: These are portable and ideal for smaller projects or when working in tight spaces.
- Stationary Core Drills: These are mounted on a stand and provide greater stability and precision, making them suitable for larger jobs.
- Wet Core Drills: These use water to cool the drill bit and reduce dust, ideal for longer drilling sessions.
- Dry Core Drills: Designed for use without water, these are typically used for shorter projects and in areas where water is impractical.
Preparing for the Drill
Before beginning any drilling project, adequate preparation is crucial. Here are the essential steps to take:
Gather the Right Tools and Materials
Ensure you have all the necessary tools and materials on hand, including:
- Core drill and appropriate drill bit
- Water source (for wet drilling)
- Marking tools (chalk or marker)
- Safety gear (goggles, gloves, dust mask)
- Level and measuring tape
- Vacuum or dust collection system
Marking the Hole Location
Accurate marking is vital for a clean hole. Use a measuring tape to determine the exact location where you want to drill. Mark the spot with a chalk line or marker, ensuring it’s visible and precise. If necessary, create a small dimple or indentation with a hammer and a nail to help guide the drill bit and prevent it from slipping.
Setting Up the Core Drill
Once you have prepared the area and marked your drilling point, it’s time to set up your core drill:
Adjust the Drill Bit
Select the appropriate size of the core drill bit based on the diameter of the hole you need to create. Ensure that the bit is securely attached to the drill and that it is compatible with the material you are drilling.
Position the Drill
For stationary core drills, secure the drill on a stable surface and adjust the height appropriately. If using a handheld model, hold the drill firmly with both hands, ensuring a stable grip. Position the drill bit perpendicular to the surface to achieve a straight hole.
Drilling the Hole
With everything in place, you can now begin drilling:
Start Slowly
Begin drilling at a low speed to create a guide hole. This initial slow speed helps in ensuring the bit stays on track and reduces the risk of damaging the material. Once the guide hole is established, gradually increase the speed.
Maintain Steady Pressure
Apply consistent pressure while drilling, but avoid excessive force, as this can damage both the drill bit and the material. Let the drill do the work; if you encounter resistance, pause and assess the situation. For wet drilling, ensure that water flows continuously to cool the bit and minimize dust.
Monitor Progress
Keep an eye on the depth of the hole as you drill. If you’re drilling through thick materials, it may be necessary to periodically withdraw the bit to clear debris and maintain cooling.
Finishing the Drilling Process
Once you reach the desired depth, it’s time to finish up:
Remove the Core
Carefully extract the core from the drill bit. Depending on the material, you may need to use a hammer or other tool to loosen the core before removing it. Make sure to do this gently to avoid damaging the surrounding area.
Clean the Area
After drilling, clean the site to remove any debris and dust. If you used water during the drilling process, ensure that the area is dried adequately to prevent slipping or accidents.
Conclusion
Using a core drill can significantly enhance your ability to create clean and precise holes in various materials. By understanding the tool, preparing adequately, setting up correctly, and following proper drilling techniques, you can achieve excellent results. Always prioritize safety and take the time to ensure each step is executed carefully. With practice, you’ll master the art of core drilling and tackle any project with confidence.